
KIt-"LOVELY ANGEL"-Bibis CollectionHERE
"LOVELY ANGEL ALPHA"- Designz By Sue-HERE
All available at Scraps and Company!
"LOVELY ANGEL ALPHA"- Designz By Sue-HERE
All available at Scraps and Company!

This tutorial was
written by me and any similarities to any other is just a
coincidence. This tut
was written in PSP 9 but should work in all versions.
This tut assumes you have a moderate working
knowledge of PSP.
What you will need
tube of choice
kit of choice
Mask of choice
Alpha
Filters needed xero-moonlight
Filters Unlimited 2.0
Filters needed xero-moonlight
Filters Unlimited 2.0
Lets get started!
Open a 700 x 700
Canvas-Flood fill with white-Rename BK
Copy and paste
elements as follows I have put the % of resize and any
special instructions.
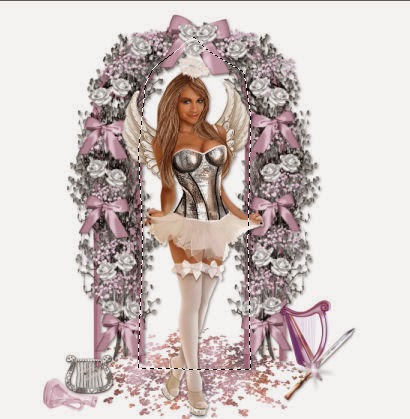
See tag for placement.
Element 62-45%
6-80-activate magic wand-point
to point-replace
Draw out like in the
screenshot
New layer –behind
trestle –copy and paste
paper 6 into
selection-selections none.
Copy and paste
tube-resize 60%
61-25
63-35-rotate-right
45%
56-35
2-25
38-35
14-35
Close bk layer
merge visible the
rest.
you should now have 2
layers like this
bk on bottom and
merged layer above.
Apply these elements
above the merged layer.
25-50- Duplicate and
mirror
24-No
resize-duplicate an mirror.
41-50
close off bk merge
visible rest
New layer above bk-selections all
copy and paste paper
9 into selections-selections none
Apply
Xero-moonlight-time of day 3 lower opacity to liking.
Merge both bk layers
into 1 apply Filters unlimited 2
with settings below

Copy and paste element 26
resize 25% above your bk layer
and below the merged
layer.
Merge visible all
layers.
Resize if needed add
© and license info.
add name using
alpha-resize 50%
merge all the alpha
layers and
rotate

Save as PNG
Would love to see
your variations of this tut
Please mail tags to
laurag315@gmail.com
please let me know
which tut you did and put Laura
in the subject line
and I will place your tag on my blog.
No comments:
Post a Comment